The backyard greenhouse foundation is the least glamorous part of a greenhouse project and also the most consequential. A greenhouse assembled on an uneven surface will have doors that stick or will not close properly, panels that gap and leak air, and structural stress points that can cause warping or failure over time. Most assembly problems that people blame on the kit are actually caused by the surface underneath it.
“Level enough” is not level. A quarter inch of variance across the greenhouse footprint is the maximum tolerance for proper assembly, and most yards are not that flat, even when they look it to the eye. If you have not checked with a long level or laser, assume your ground is not ready.
The good news is that a greenhouse foundation does not need to be complicated or expensive. You do not need a poured concrete slab unless you want one. For most home greenhouses, a compacted gravel pad costs a few hundred dollars in materials and a weekend or so of work, depending on the greenhouse size.
Do I Need a Foundation for a Greenhouse?
Yes. A level foundation is essential for proper assembly, structural stability, and door operation. For most home greenhouses, a 4-inch compacted gravel pad ($100 to $400) provides excellent drainage and is the simplest option. For greenhouses over 120 square feet, a concrete slab offers more rigidity. Either way, a perfectly level surface is the most important factor.
This guide covers the four most common greenhouse foundation ideas, what each costs, and which one fits your greenhouse size and site.
Before committing to a foundation type, check your local zoning and building permit requirements. Requirements vary significantly by municipality, with some requiring permits for any permanent structure over a certain square footage, others only for poured concrete. A five-minute call to your local building department before you start saves you from a compliance issue after you finish.
Prior to digging, call 811 (or visit call811.com) to have underground utilities marked. The service is free, it is legally required in most states, and it takes two to three business days to schedule. Hitting a buried gas or electrical line during a gravel pad excavation is an avoidable risk that no foundation is worth.
Four Greenhouse Foundation Ideas Compared
| Foundation Type | Cost | Difficulty | Best For | Drainage |
|---|---|---|---|---|
| Compacted gravel pad | $100–$400 | Easy DIY | Most kit greenhouses under 120 sq ft | Excellent |
| Treated timber frame | $150–$400 | Easy DIY | Small to mid-size greenhouses | Good (fill with gravel) |
| Concrete pavers/blocks | $200–$600 | Moderate DIY | Any size, flexible layout | Good |
| Poured concrete slab | $500–$3,000+ | Hire a pro | Large greenhouses 120+ sq ft | Requires drainage planning |
Compacted gravel pad (the most popular choice)
A compacted gravel pad is the most popular foundation for home greenhouse kits, and for good reason. The process is straightforward: mark out the footprint of your greenhouse plus about 6 inches on each side, excavate 4 inches of soil, and lay woven polypropylene geotextile fabric (often sold as “ground stabilization fabric” or “driveway fabric” at home improvement stores). Avoid the lightweight landscape fabric sold in garden center rolls, which breaks down within a few years under gravel. Fill with 3/4-inch crushed stone (angular, not smooth pea gravel).
Add loose gravel in stages, compacting as you go, and checking for level with each layer until the finished surface reaches your target depth of 4 inches. Order more than you think you need because loose gravel loses a surprising amount of height during compaction. For greenhouses under 60 square feet, a hand tamper ($30 to $50 to purchase) handles compaction well. For larger pads, a plate compactor rental ($60 to $120 per day at most equipment rental outlets) speeds the job considerably. The machines are heavy, typically 150 to 200 pounds, so plan on a truck or trailer for pickup. The finished pad should sit at or slightly above surrounding grade to shed water rather than collect it.
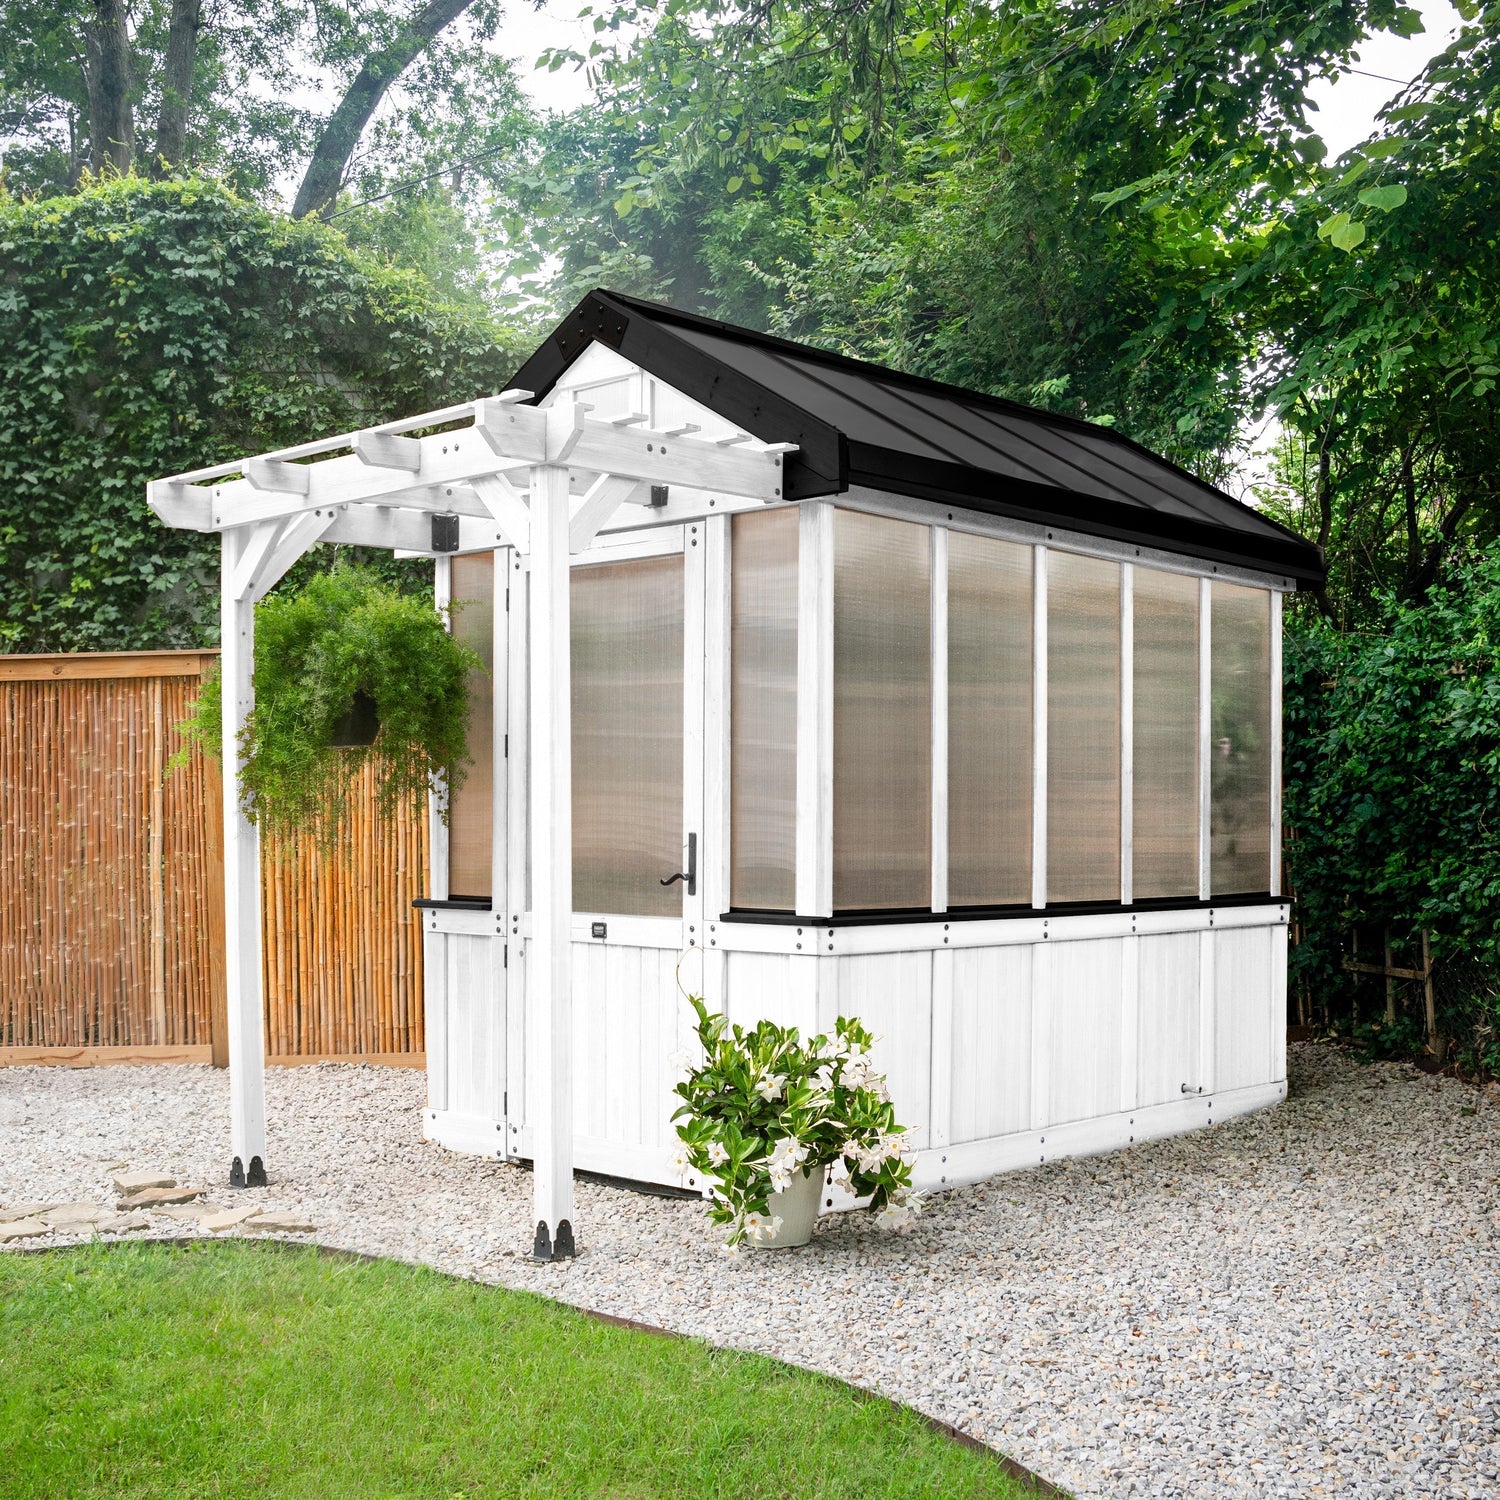
Gravel drains beautifully, which prevents water from pooling around or under your greenhouse. It is forgiving enough to adjust slightly during assembly if one corner is not quite perfect, and it costs a fraction of what concrete costs. For a 9x6 greenhouse, you are looking at roughly $100 to $200 in materials. For a 13x11, closer to $250 to $400 depending on local gravel prices and whether you rent a plate compactor. Use crushed stone rather than smooth pea gravel, because the angular edges interlock when compacted and create a much more stable surface.
Cold-climate note (Zones 3–6): In cold climates, extend the gravel pad depth to 6 inches rather than 4, and ensure the base layer below the crushed stone is well-draining material rather than native soil. On clay-heavy soils, excavate 8 inches and add a 4-inch base layer of coarse gravel before the compacted surface layer. This reduces frost heave risk by improving drainage below the frost zone. If your soil is predominantly clay and you plan a heated greenhouse, a concrete slab with footings below the local frost line may be worth the additional cost.
Allow 24 to 48 hours for the gravel to settle before assembling the greenhouse, especially if you applied water during compaction. Walking across the surface and checking for low spots after settling lets you add a thin top-off layer and tamp it level before the kit goes up.
Treated timber frame
A timber frame is essentially a rectangular border made from pressure-treated 4x4 or 4x6 lumber, leveled and squared, then filled with gravel. Make sure the lumber is rated for ground contact, which you can confirm by checking the end tag for a “Ground Contact” label or UC4A rating. Standard above-ground pressure-treated wood will rot within a few years in soil contact. The timber frame gives you a clean, defined edge that the greenhouse sits on and helps keep the gravel contained. The cost is slightly higher than a gravel-only pad because of the lumber, but the result looks more polished and provides a stable perimeter for anchoring the greenhouse frame.
One note if you are growing edible crops: modern pressure-treated wood uses copper-based preservatives that are safer than the arsenic-based treatments used before 2004 but can still leach trace amounts into surrounding soil. If this is a concern, naturally rot-resistant cedar or redwood works well as an untreated alternative for the frame border.
Concrete pavers or blocks
Individual pavers or concrete blocks arranged in a grid provide a solid, level surface that can be adjusted paver by paver if the ground settles. The advantage is flexibility: if one section shifts over time, you can relevel individual pavers without redoing the entire foundation. The disadvantage is that it takes more time to lay and level than a gravel pad, and the cost per square foot is higher.
Poured concrete slab
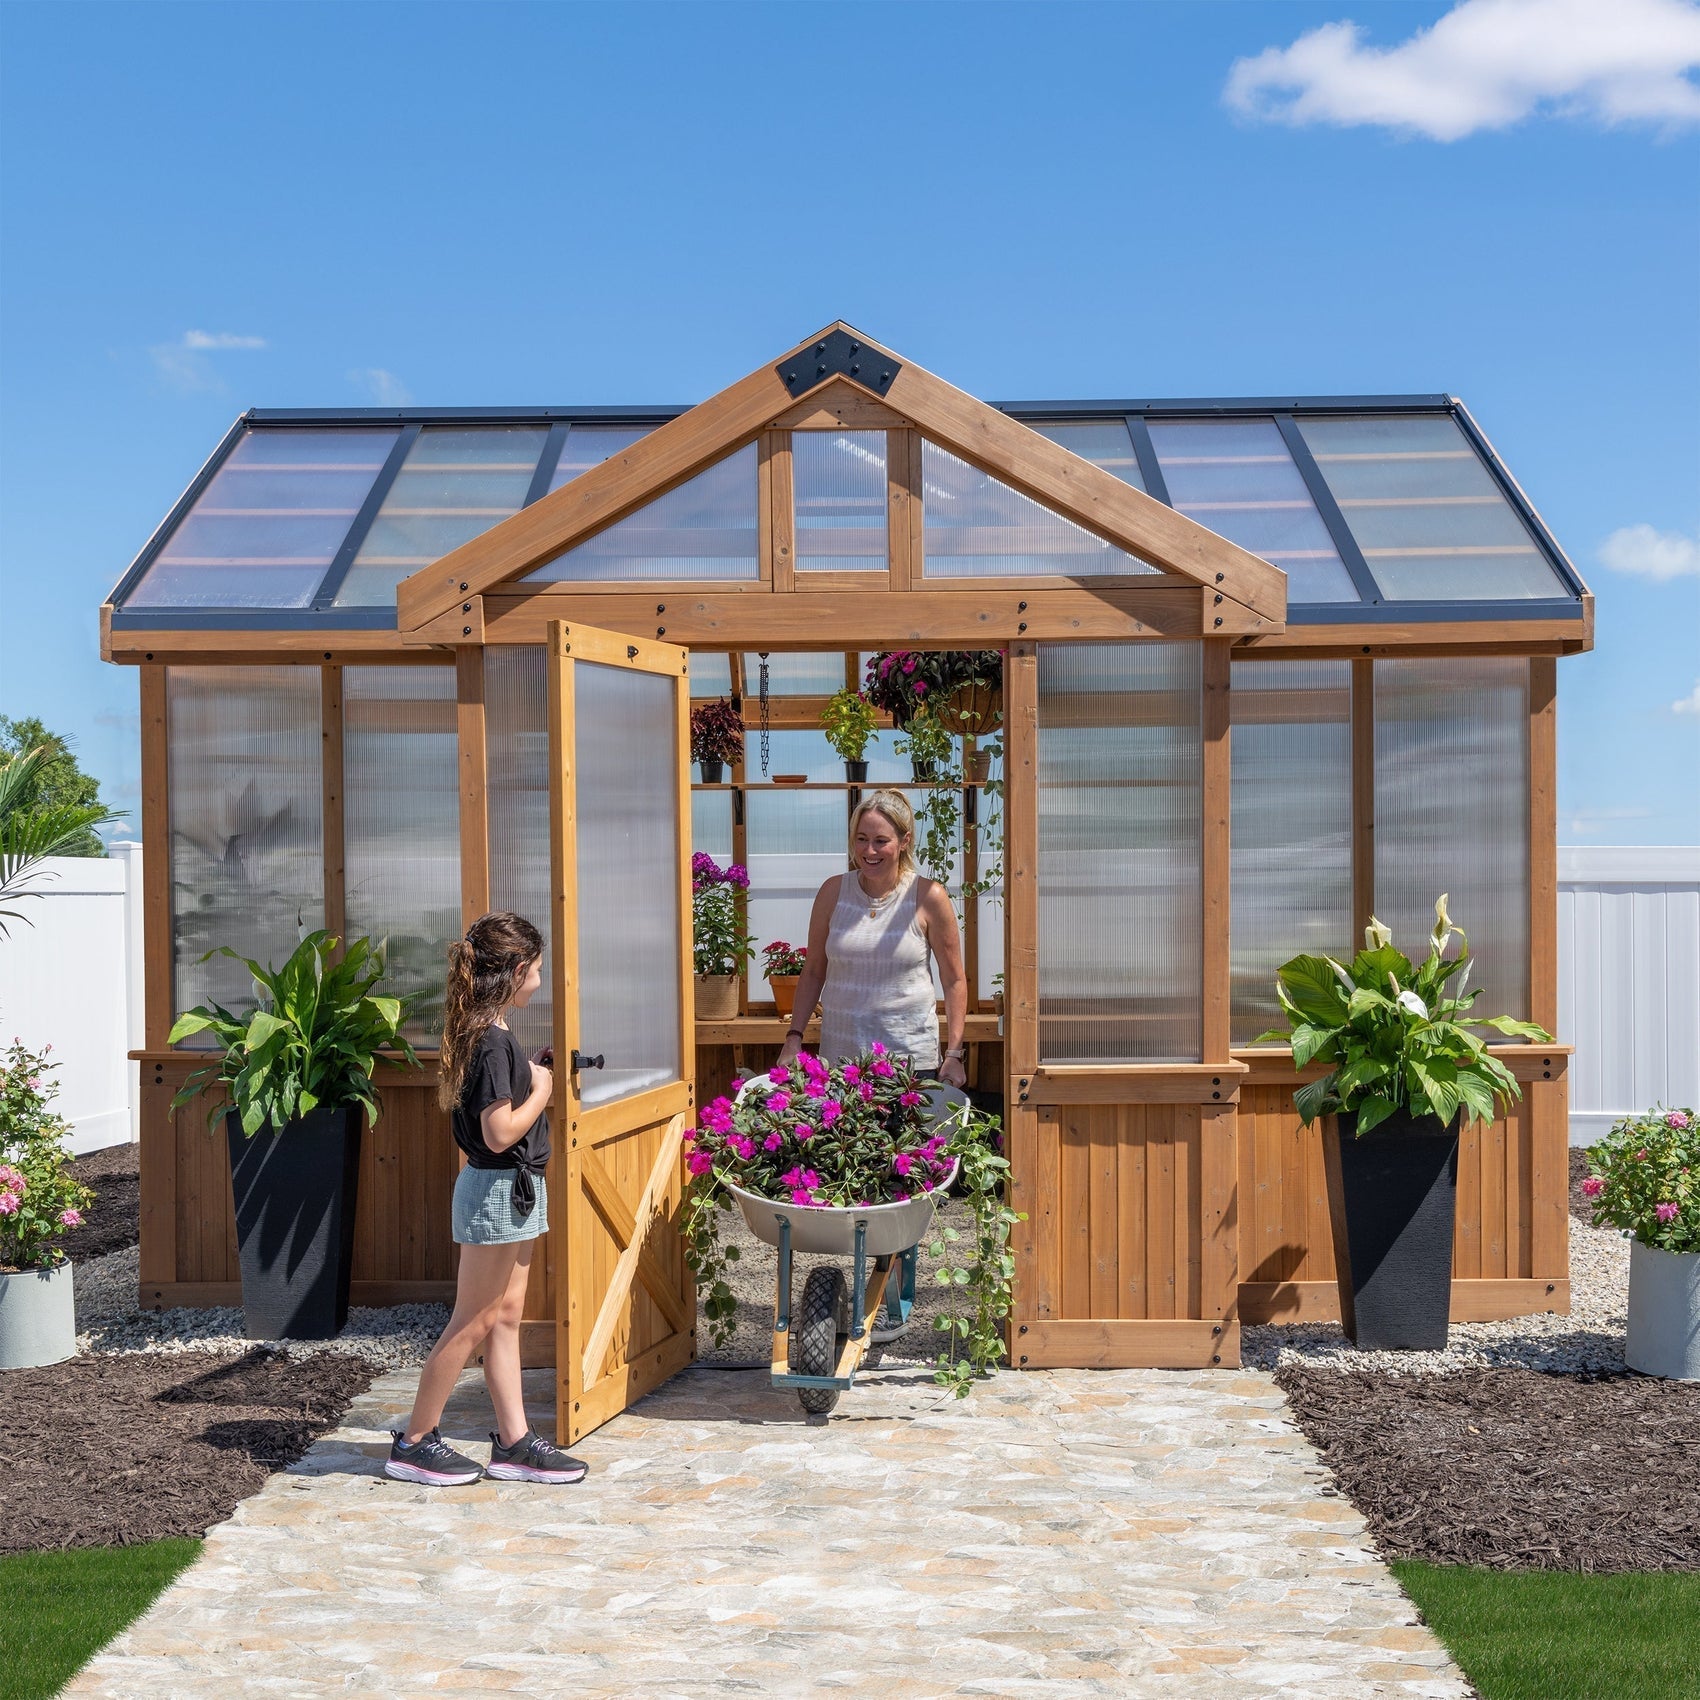
Concrete is the most permanent and most expensive option. It’s more than most greenhouses under 120 square feet need, but it makes sense for larger structures where the weight of the greenhouse and its contents benefit from an absolutely rigid base. If you are installing a greenhouse like Backyard Discovery’s Bellerose XL (13x11) or the Savannah (14.5x12), a concrete slab provides the most stable possible foundation. It also gives you a smooth, easy-to-clean greenhouse floor, which some growers prefer.
The trade-offs are cost and drainage. A poured slab typically runs $500 to $3,000+ depending on slab size, thickness, reinforcing requirements, and local labor rates. For smaller greenhouses under 60 square feet in lower-cost markets, the lower end of this range is achievable. For larger structures like the Savannah in major metro areas, budget toward the higher end and get at least two contractor quotes before ordering the greenhouse. Water cannot pass through concrete the way it passes through gravel, so you will need to ensure the slab is slightly sloped or that your greenhouse floor plan accounts for water management. A poured concrete slab may also trigger local building code requirements depending on your municipality, so check with your building department before you pour.
In cold climates (Zones 3–6), the concrete slab or its footings should extend below the frost line to prevent heaving during freeze-thaw cycles. Check with your local building department for the required frost line depth in your area, which typically ranges from 12 to 48 inches depending on location.
For heated greenhouses, adding 1 to 2 inches of rigid foam insulation board around the outside of the slab or foundation wall reduces heat loss through the concrete, which conducts heat readily. This is especially worthwhile in Zones 3–6 where every BTU of retained heat matters.
Alternative: Raised Deck Platform
On steeply sloped sites or where a greenhouse will adjoin an existing deck, a purpose-built raised deck platform can serve as the foundation. This is the most complex option. It requires pressure-treated framing rated for ground contact, proper footings (below the frost line in Zones 3–6), and enough structural capacity to support the greenhouse weight plus snow load in your climate. Most homeowners hire a contractor for this. If you’re considering a deck platform, confirm your greenhouse’s weight specifications and share them with your builder before construction.

Greenhouse Floor Options: What Goes Inside
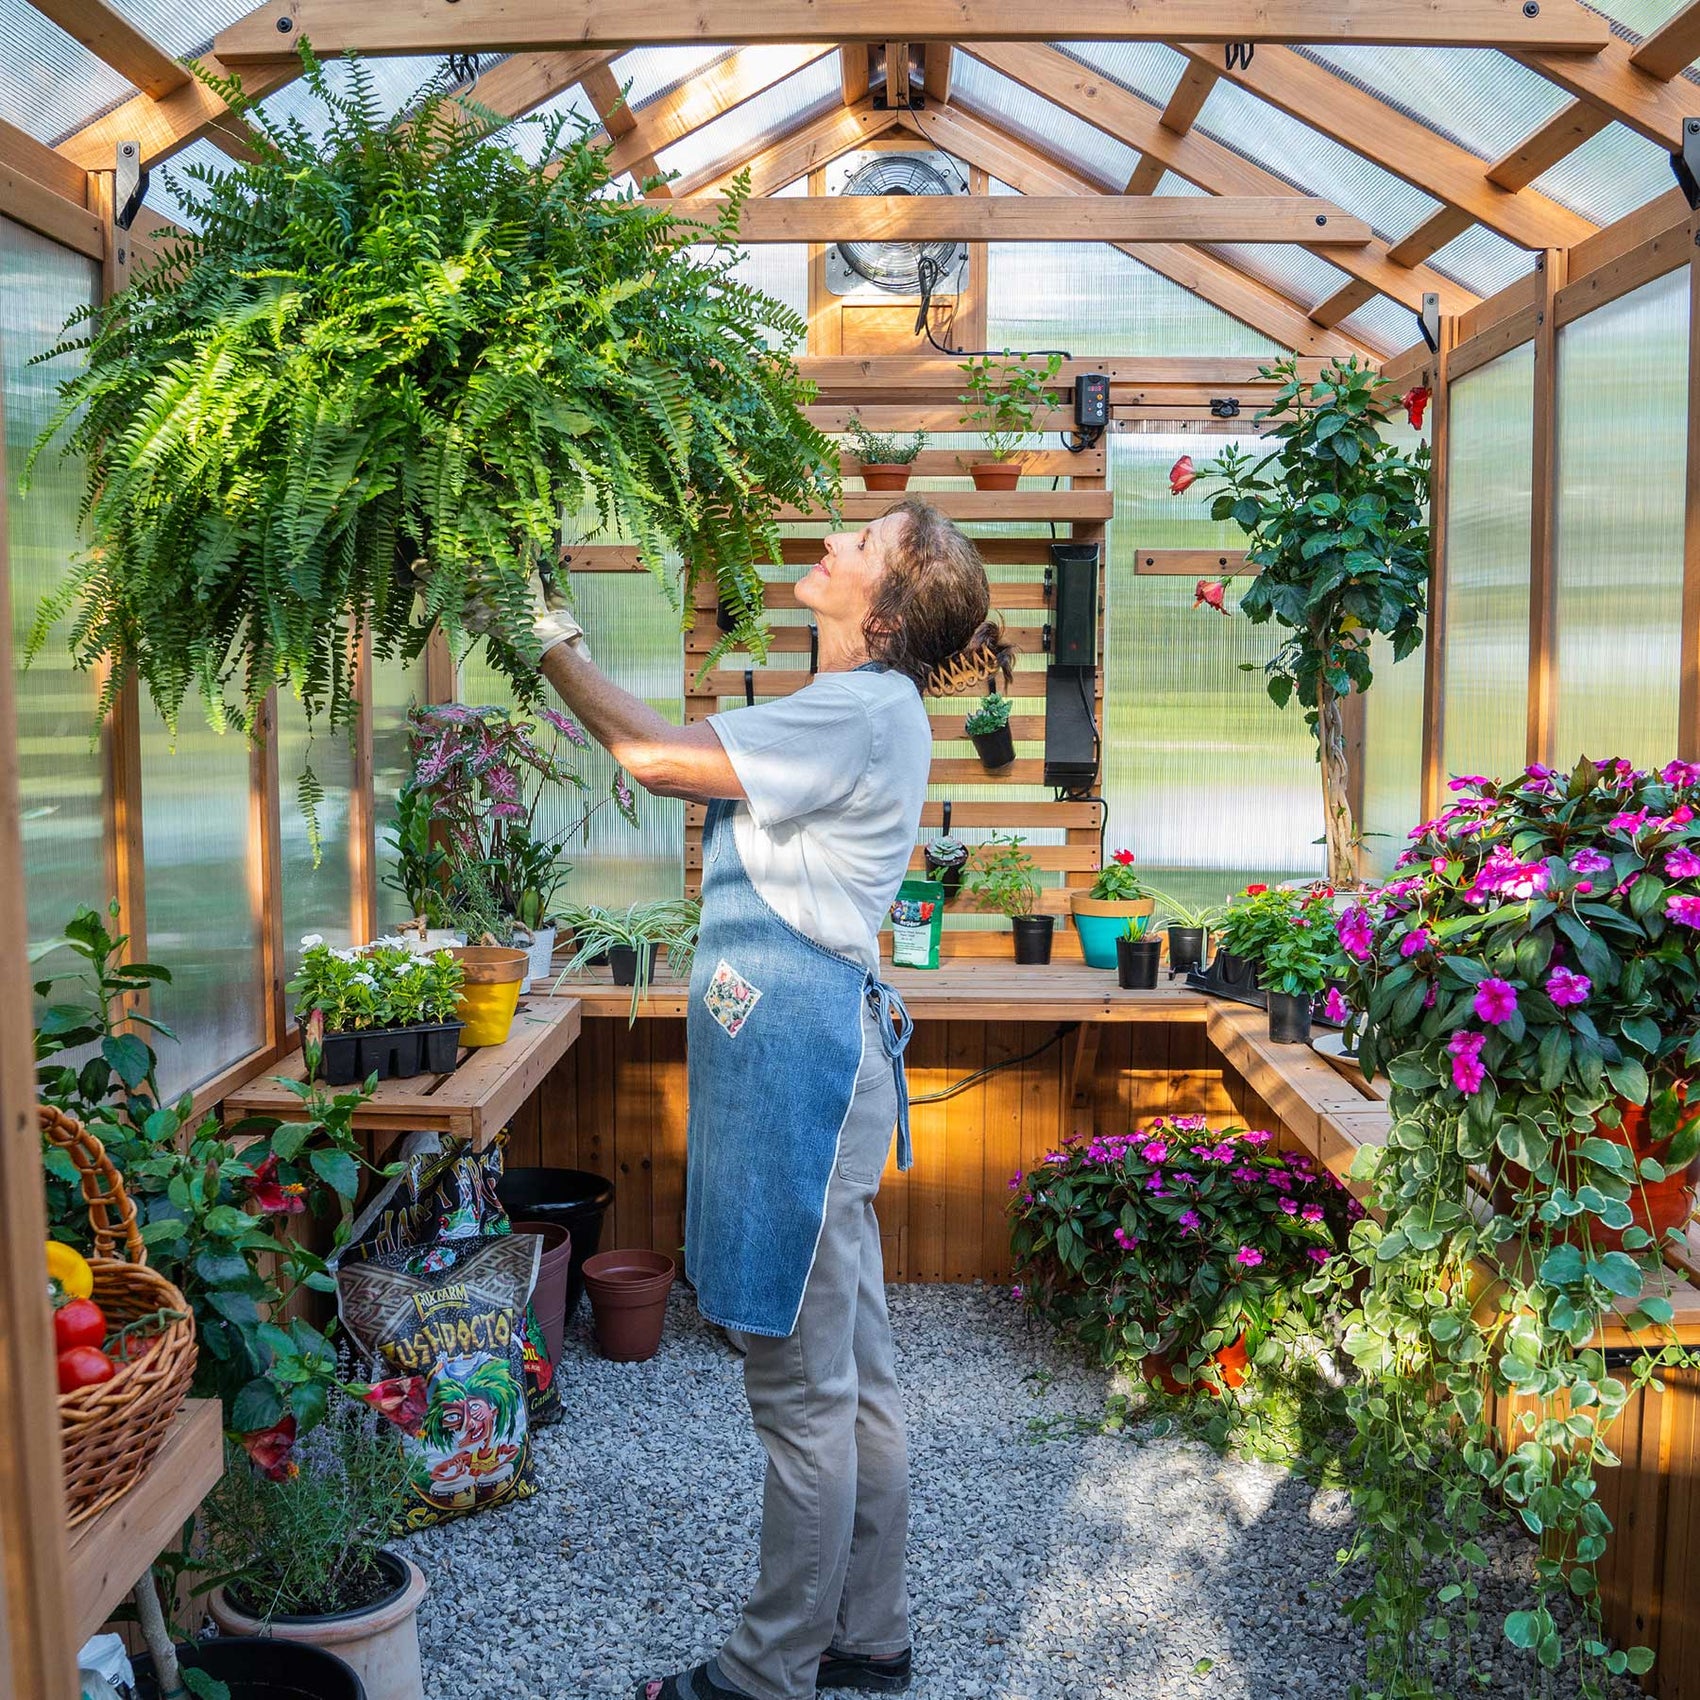
Your foundation type determines your flooring options. If you built a gravel pad or timber frame, the crushed stone fill doubles as your floor with good drainage and a stable surface underfoot. If you want defined walkways, lay concrete stepping stones or pavers through the center aisle on a thin bed of leveling sand, leaving quarter-inch gaps between stones so water still drains through. This gives you a solid path for wheelbarrows and carts without covering the gravel’s drainage along the growing beds.
A paver foundation is already a finished floor. The solid surface is easy to sweep and works well for carts, though drainage is slower than gravel since water passes only through the gaps between pavers rather than straight through the surface. Leave at least 1/4-inch gaps between pavers and fill them with coarse sand or fine gravel rather than grouting them solid, since grouted joints eliminate drainage almost entirely.
A poured concrete slab gives you a smooth, easy-to-clean surface from day one, but water management matters. Slope the floor 1/8 to 1/4 inch per foot toward a central drain or the open end of the greenhouse. A dead-flat slab will pool water in exactly the places you do not want it.
Avoid bark mulch or wood chips as greenhouse flooring regardless of your foundation type. The combination of constant moisture and enclosed heat accelerates decomposition far faster than it would outdoors. Within a season or two the material breaks down into a breeding habitat for fungus gnats and other pests.

Which Greenhouse Foundation for Which Size
| Greenhouse Size | Recommended Foundation |
|---|---|
|
Small (under 60 sq ft) e.g., Willow 9x6 |
Compacted gravel pad or timber frame. Either works well. Gravel is simplest. |
|
Medium (60–120 sq ft) e.g., Poppy 11x7, Zalie 12x7 |
Compacted gravel pad is still ideal. Timber frame adds a finished edge. |
|
Large (120+ sq ft) e.g., Bellerose XL 13x11, Savannah 14.5x12 |
Concrete slab recommended for best long-term stability. A 6-inch gravel pad works if budget is the priority, but plan on periodic re-leveling. |
Concrete pavers work for any greenhouse size and offer the advantage of being adjustable if the ground settles over time. They take more time to install than a gravel pad but less commitment than a poured slab.
How to Prepare Your Backyard Greenhouse Site: The Steps Most People Skip
Leveling the ground
This is the number one source of greenhouse assembly problems. Use a long level (4 feet minimum) or a laser level to check across the entire footprint in multiple directions. The surface should be within a quarter inch of level from corner to corner. For larger greenhouses over 120 square feet, check in multiple directions across the full span and pay particular attention to corners, where racking stress concentrates during assembly. Taking an extra hour to get this right will save you several hours of frustration during assembly. Doors that do not close, panels that gap, and frames that twist are almost always caused by a foundation that was “close enough” but not actually level.
If your site has a significant slope, a raised timber frame with one side higher than the other can create a level platform without major excavation — this works on any soil type and is the most reliable option for most homeowners. On sandy or loamy soil with a slope of 6 to 12 inches, cut-and-fill (excavating the uphill side and using the material to build up the downhill side) is a less expensive alternative, though it requires careful compaction in 4-inch layers. Skip cut-and-fill on clay-heavy soil since it settles unevenly over time. Beyond a 12-inch gradient on any soil type, a retaining wall is likely necessary.
Drainage
Water should flow away from your greenhouse, not toward it and not under it. If your site slopes, orient the greenhouse so water runs past the low side rather than pooling against the foundation. A French drain or shallow gravel trench along the uphill side diverts water before it reaches the greenhouse. This is especially important on clay soil, which holds water rather than letting it drain through.
Anchoring
Every greenhouse needs to be anchored to its foundation. Wind can lift an unanchored greenhouse even if it seems heavy and stable. Every Backyard Discovery greenhouse is Pro-Tect™ tested and approved to withstand winds up to 100 mph and 50 lbs/ft² snow load when properly anchored. The kits include both concrete anchors and ground stakes, so you’re covered regardless of foundation type. The BILT® app assembly instructions show exactly how and where to secure the structure to your foundation type with step-by-step 3D visuals.

Can You Skip the Foundation Entirely?
If you already have a level, well-drained hard surface like an existing concrete patio, pavers, or a solid deck that can bear the greenhouse weight, that surface may serve as a foundation directly. Aim for no more than a quarter inch of variance across the footprint. Check in multiple directions across the footprint and pay extra attention to corners, where racking stress concentrates during assembly. Make sure water drains away from the area rather than pooling. If the surface meets those conditions, no additional foundation work is needed.
For everyone else: only if you meet all three of these conditions. Your ground is naturally flat and well-drained, you are installing a small greenhouse (under 60 square feet), and you are willing to anchor directly into the ground. Even then, check for level with a long level before committing. If your site is off by more than half an inch across the greenhouse footprint, you are better off spending the time to prep a proper pad.
For any greenhouse that cost you more than $1,000, the foundation is not the place to cut corners. A $200 gravel pad protects a $1,999 to $5,999 investment. The math speaks for itself.
Browse Backyard Discovery’s greenhouse collections to find the right one for your space, then prep your foundation with confidence.
Not sure which greenhouse fits your space yet? Start with our buying guide for a framework to evaluate your options, or our beginner’s guide for first-season planning.
Greenhouse Foundation Guide: Frequently Asked Questions
Does a greenhouse need a foundation?
Yes, in almost all cases. Without a level foundation, you will fight assembly problems from day one: doors that stick, panels that gap, and a structure more vulnerable to wind uplift and settling over time. The only exception is a small greenhouse (under 60 sq ft) placed on naturally flat, well-drained ground with proper anchoring. Even then, a simple gravel pad is inexpensive insurance against problems.
What is the best foundation for a greenhouse?
For most home greenhouses under 120 square feet, a compacted gravel pad is the best combination of cost, performance, and ease of installation. It provides excellent drainage, is easy to level, and costs $100 to $400 in materials. For larger greenhouses, a poured concrete slab offers more rigidity and a clean floor surface, but at a higher cost ($500 to $3,000+). A timber frame filled with gravel is a good middle ground that looks more finished than gravel alone.
How do you build a greenhouse foundation with gravel?
Mark out the greenhouse footprint plus six inches on each side. Excavate 4 inches of soil across the area. Lay woven polypropylene geotextile fabric over the excavated surface to prevent weeds. Fill with 3/4-inch crushed stone (not smooth pea gravel) in 2-inch layers, compacting each layer with a hand tamper or plate compactor. Check for level frequently as you build up layers. Allow 24 to 48 hours for the gravel to settle before assembling the greenhouse. In cold climates (Zones 3–6) or on clay-heavy soil, increase excavation depth to 6 to 8 inches and add a coarse gravel drainage layer beneath the compacted surface to reduce frost heave risk.
Can you put a greenhouse directly on gravel?
Yes, and it’s the most popular foundation choice for home greenhouse kits. Compact 3/4-inch crushed stone (not round pea gravel) to a depth of 4 inches, check for level, and you have a stable base with better drainage than concrete. Backyard Discovery’s greenhouses are designed to work on any of the foundation types covered in this guide, with anchoring hardware included for both concrete and ground installations.
How do you prepare ground for a greenhouse?
Start by choosing a site with at least 6 hours of direct sunlight and access to water and power. Clear the area of grass, roots, and debris. Check the natural slope and plan drainage so water flows away from the greenhouse. Before excavating, call 811 to have underground utilities marked. Excavate to the depth your chosen foundation requires (4 to 6 inches for gravel, deeper for concrete). Level the excavated surface carefully, then build your foundation on top. The leveling step is the most important: an extra hour here prevents hours of assembly frustration and long-term structural issues.
What is the best flooring for a greenhouse?
It depends on your foundation. If you built a gravel pad, the crushed stone doubles as your floor with solid drainage and a stable surface underfoot. Laying concrete stepping stones or pavers along the center aisle gives you a cleaner walkway without sacrificing the gravel’s drainage. If you poured a concrete slab, you already have a smooth floor that’s easy to clean, though you’ll want a slight slope or central drain, so water does not pool. Whichever foundation you chose, avoid bark mulch or wood chips as flooring. The constant moisture and warmth inside a greenhouse break them down quickly and attract fungus gnats.
Leave a comment
This site is protected by hCaptcha and the hCaptcha Privacy Policy and Terms of Service apply.